KV&O RS11 #431 switching out a couple bad orders.

Tuesday, November 25, 2014

Bridge Part 1

I started working on the steel mill portion of the layout and started thinking about a bridge while looking at pictures for a few ideal for the steel mill. Next thing I know I am working a bridge going over the interchange tracks in the yard. I had to completely remove the abandoned factory, but I reused the water tower and the substation in this area. Th bridge was built out of 3 Atlas plate guider bridges.


Sunday, October 19, 2014

Switch Replacement Part 2

Changed the switches out and the did ground covering. It really improved the look.


Thursday, October 16, 2014

Safety Signs Part 1

I been looking for a way to add safety signs on some of my buildings that already is on the layout. I have tried decaling with no luck and thought about printing them out on photo paper. I turned to the net and found what I wanted. I then went to Microsoft paint and edited the safety signs so they would work with what I have. I then went to my local CVS and had a couple 4 x6 photos printed. I was really surprised how they turned out.

This is a shot looking at tracks of the BOF. Narrow gauge track is used for supplies only. Center track is for the scrap charging boxes and the outside track is for gondolas loaded with scrap from the scrap yard. The start of the caution signs can be seen in this pictures also in the crane legs and at the doors.


Maintenance access door signs can also be seen here.


Wednesday, October 8, 2014

Switch Replacement Part 1

I had Atlas switches machines around the BOF area. They did the job, but I felt they didn't look right. I was able to get a few packs of Caboose Hobbies ground throws and replace the Atlas switch machines. They look better and work great. The replaced Atlas switch machines will be used else where though out the mill. In the pictures, the foot print of the Atlas switch machine can still be seen and compared to the foot print of the ground throws.


Car Pullers Part 1


The car puller is located at the material dump house of the BOF. This was scratch built from plans that Dean Freytag published in a modeling magazine. I also got the idea from one of the local coal tipples in the area. The car puller was made out Plastruct styrene, tubing and motor. The cable is string I had left over from another kit, the chain is from a necklace and the hook if from a ST&D kit.


Basic Oxygen Furnace Part 1

The Basic Oxygen Furnace or (BOF) for short has been a 5 year project. As of now even with being a corner building on my layout it is still the biggest. I keep detailing this building more and more. I have thought about completely redoing it at times after thinking about it I really like how it is turning out.

Hot side of the furnace


 Air and dust duct work system from the hot side of the furnace.


Scrap side of the BOF


Air and dust duct work system.


Scrap crane on the scarp side of the BOF. At this area scrap from the gondolas will be loaded in scrap charging boxes use to pour the scrap into the BOF furnaces.

Thursday, September 25, 2014

Interchange Yard Part 2

Little update on the interchange yard. Yard tower painted, ground air lines added, and power poles added.


Friday, September 12, 2014

Interchange Yard Part 1

Yard tower, crew room and parking lot.


Locomotive service facility. The facility still serves steam and diesel locomotives. D&D Steel still uses steam locomotive in parts of its operations, but as these locomotives have major breakdowns, they are being replaced with diesels.


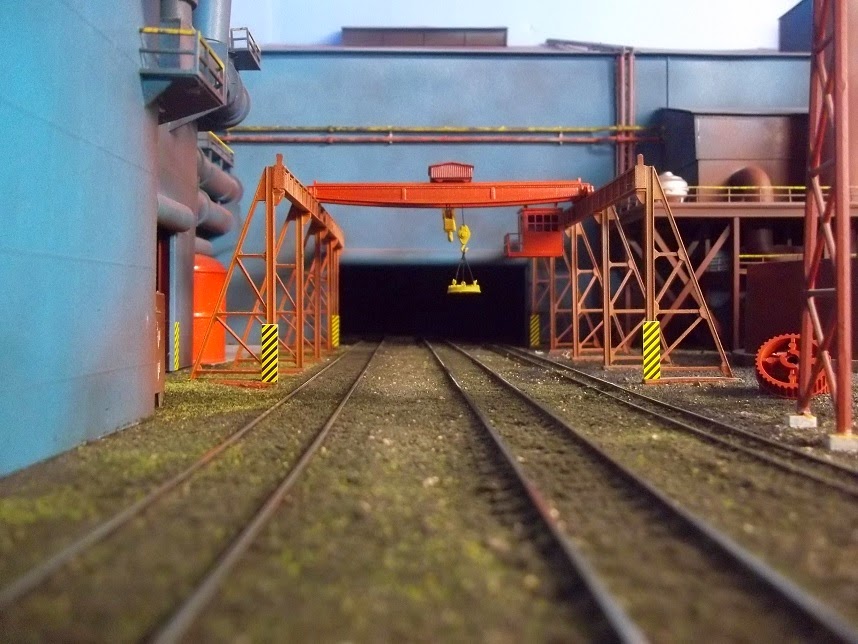
The small area under the stationary crane is where KV&O built their cars, until a building for building new cars was built. Now it is used to unload part and supplies. Rumor is the stationary crane will be torn down and a new over head traveling crane will be built.


Locomotive and cars shops. Here Locomotives are rebuilt and new cars are build or repaired. Looks like beside the shops a German BR52 locomotive has arrived. This will be rebuild and ran on the KV&O


Shot from the top of the coaling tower. On the right the yard tower crew room the walkway leads to the scale house and pass that is the locomotive and cars shops

Wednesday, September 10, 2014

Boiler House Part 2

After reworking and adding stack and a few other detail parts, these were then painted a brown color. Still a few odd and end details to do but it is coming a long pretty nicely.


Power Car Part 3

Added a fence around the car to protect the transformers and electric wire from vandals. The fence was built using wedding veil mesh and florist wire. Still looking for a good transformer to use. Probably will end up scratch building one for the car.

Helium Building Part 2

After a good look at the helium building after a little accident I reworked the roof, added a roof over the steps and a added few additional details. Next, just needs to be repaint it.

Sunday, April 13, 2014

Car Floats part 3

Added some details to the car apron and the over head crane to adjust to fit a car float.


Thursday, April 3, 2014

Bucket Wheel Excavator Part 1

I have been looking for a Revell Bucket Wheel Excavator for some time. These were out of production until last year. There were only a limited run of these and I was lucky enough to find one at a good price on eBay. The kit is 1/200 scale, but even for that scale it measures around 3 feet long. I have always been interested in these machines and wanted one for my layout. After getting the kit and looking at it, It will take a little scratch building on a few parts but the plan is to convert this from 1/200 scale to 1/87 scale. I have started the crawler assembly and placed an HO scale person beside the crawler to show the size. Still going to be big for HO scale.


Saturday, March 29, 2014

Car Floats part 2

Have a had a little more progress on the car float apron. Still, lots to do but it is a start. I cut out for the harbor and dropped it down 3/4 if an inch. I use foam board from the Dollar Tree to make the retaining walls. the top of the wall will be covered with styrene to help with the appearance. Going to use dowel rods for guidepost for the car float and tie offs. Also going to have to come up with something for an overhead crane for the apron. These cranes were used to raise and lower the apron to match the height of the car float. The apron was made out of an old Atlas bridge and styrene. the bench work was cover in a small layer of plaster and sanded smooth, and painted brown, green and blue. I found some clear plastic tablecloth in my wife's craft room,  that I borrowed a small piece of. I think it gives a pretty good ripple effect.


Tuesday, March 25, 2014

Car Floats part 1

I'm not much on watching reality shows on TV, but my wife got me to watch Railroad Alaska. I will have to say it was a pretty interesting show. Parts of the show takes place at a shipping port where railroad cars are delivered to the Alaska Railroad by a car float. This got me thinking, that this would be a good interchange for a model railroad and would be interesting to model. I know that Walther's came out with a sea port set with a car float and apron. ((The apron is an adjustable bridge that connects to the car floats so the railroad cars can be removed form the floats.)) I have found a few online but the prices of them is getting high and if the price of the kit isn't high the shipping for it is ridicules. March 2014 issue of Model Railroader has an article for scratch building a car float, so using some of the dimensions giving in MR I come up with a plan for a car float 3 feet long and 6 inches wide. I made a mock up using foam board that was purchased at the Dollar Mart of how I thought about putting the port on my layout.


Transfer Car Part 3

Got all transfer cars pretty well complete. These are fun and easy projects for anyone to build.